This dip is one of the easiest to make and has been enjoyed by anyone who tastes it… excepting those who don’t like shrimp.
Next holiday or event I’ll attempt to remember to take better pictures.
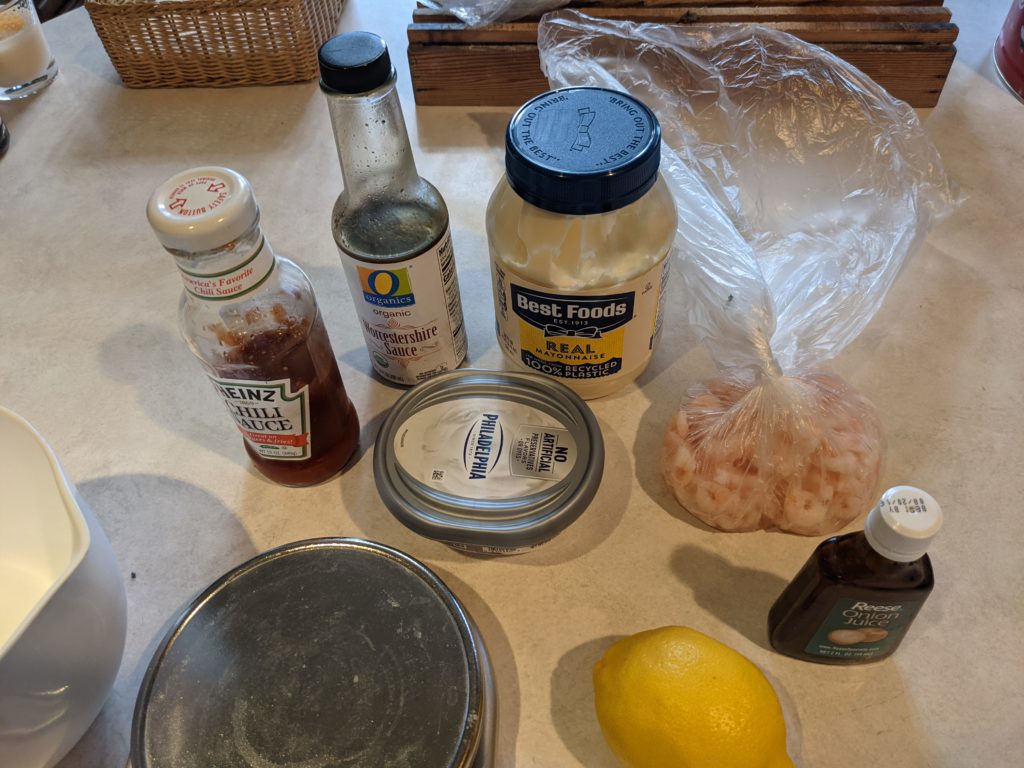
Here’s what you’ll need:
- 8oz. of Cream Cheese [warmed to room temp if brick, as-is if tub]
- 8oz. of Small Cooked shrimp
- 1/3 C. of Mayonaise (about 5T.)
- 3T. of Chili Sauce (Cocktail Sauce works too)
- 2T. of Lemon Juice
- 1/2t. Worcestershire Sauce
- 1/2t. Onion Juice
What you’ll do:
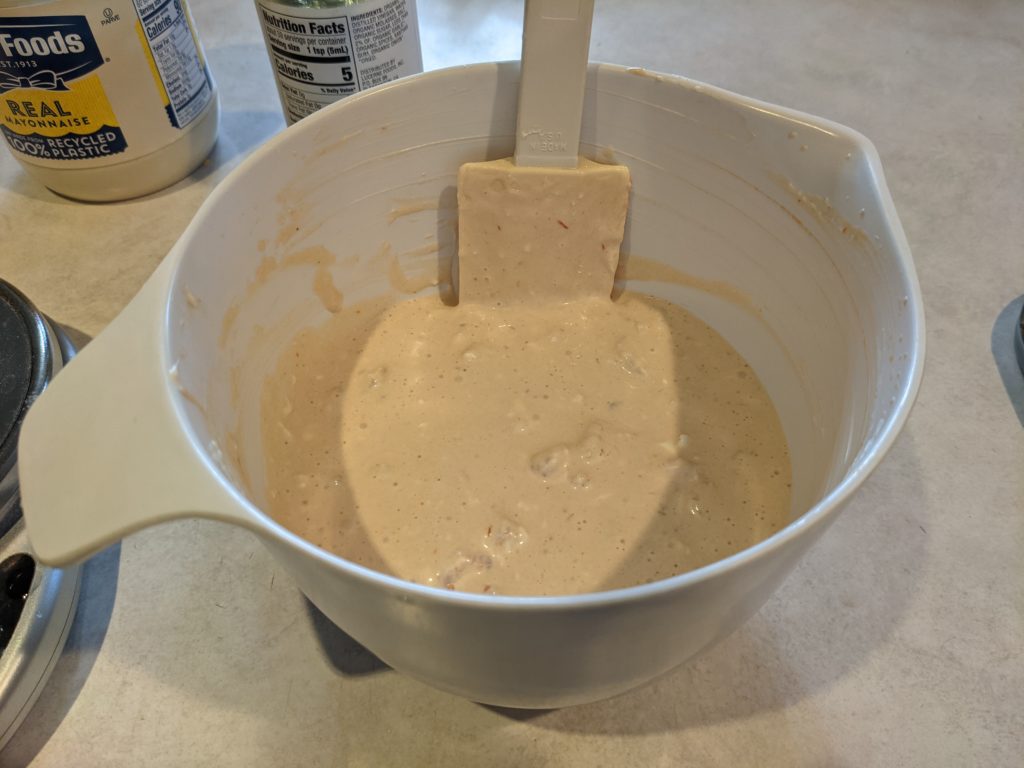
- Using arm muscles or a hand mixer beat the cream cheese in a bowl until smooth
- Add the mayo, chili sauce, lemon juice, Worcestershire sauce, onion juice and continue to beat until mixed.
- Add the shrimp and manually mix together until the shrimp is evenly dispersed.
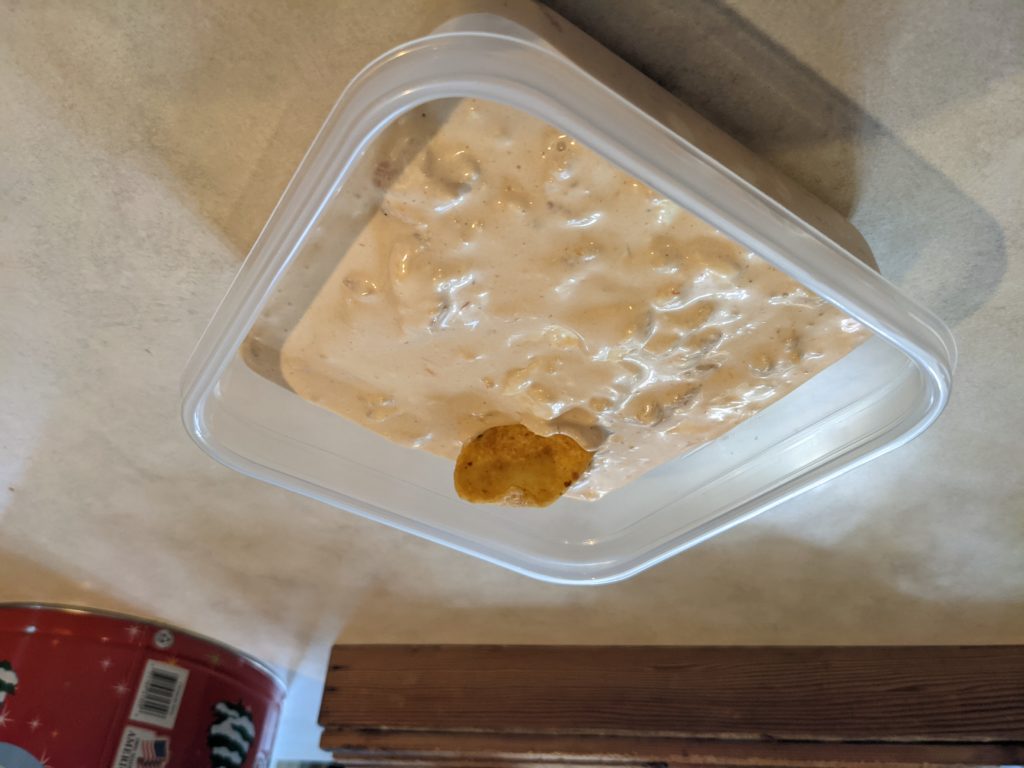
THAT’S IT.
Put into a container and serve. As-is I prefer using Frito brand scoops as the chip to dip into it.
Some variations:
If you’re looking to change it up there are some simple ways to dynamically change the whole thing.
- Use sour cream instead of mayo and add 1T. of dill.
- Use smoked salmon instead of shrimp and add 2T. of capers.